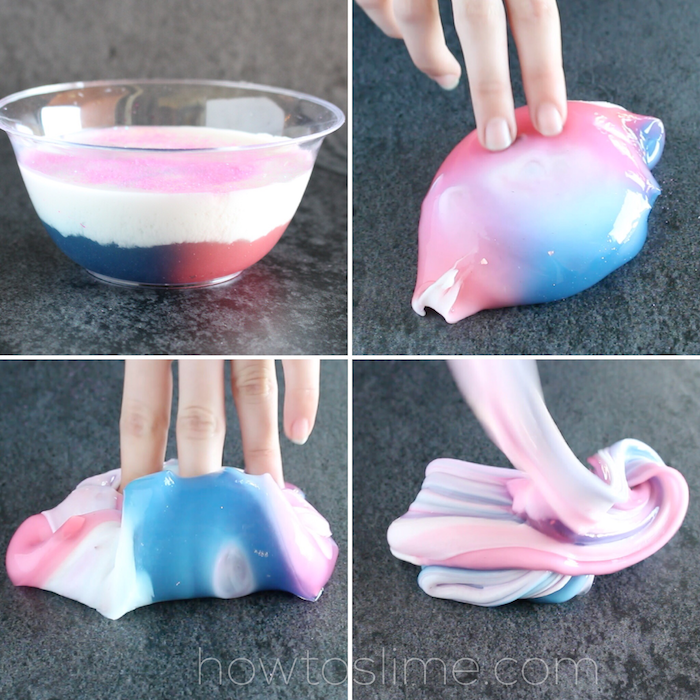
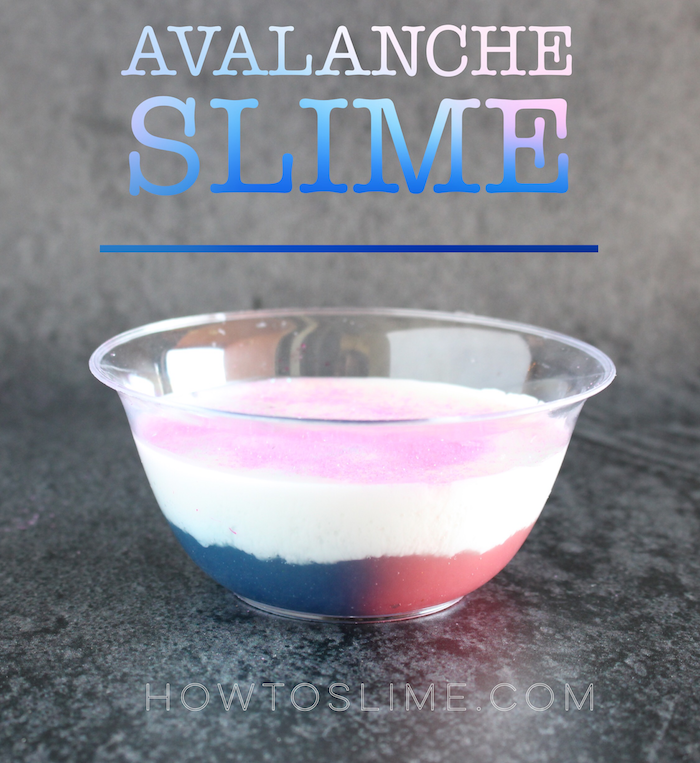
Avalanche Slime is one of the most amazing slimes you can make. It’s made with both glues, clear and white, and that’s what makes this type of slime so unique. The beautiful thing about avalanche slime is watching the different colors come together creating an avalanche effect. For this to happen, you need to let it rest for a few days.
You can put two different colors of clear slimes in the bottom and one white slime made with white glue on top of them. Wait about three days, or until you like how it looks, and then you can start playing with it. I really love watching all the colors come together while playing with my avalanche slime! If you use red and blue colors as I did, the end result is a beautiful pastel purple. On top of my avalanche slime I added some glitter, because slime always looks better with it!

Ingredients
- 1 cup of Elmer’s clear glue
- 1/2 cup of Elmer’s white glue
- borax
- red and blue food coloring
How to Make Avalanche Slime
- First make the borax mixture by adding 1 teaspoon of borax powder to 1 cup of warm water (hot tap water will work). Stir very well to combine and set aside.
- Now lets make the clear slime. Empty the clear glue into a bowl and add the borax mixture little by little, until it begins to form.
- Take the slime out of the bowl and knead with your hands. Keep kneading and adding a little activator until the slime is not sticky anymore, but don’t add too much or the slime will become stiff.
- Divide the clear slime and put into two bowls. Add red food coloring to one and blue food coloring to the other one.
- Now you can make the white slime with 1/2 cup of white glue and borax. Stir and knead until is not sticky anymore.
- Now it’s time to layer the avalanche slime! Put both clear slimes combined together on the bottom of a container. Put the white slime on top and close the container with a lid.
- Let it sit for at least 24 hours. When the wait is over you will have a beautiful avalanche slime!

